Digital Orff Rhythm Cards
This is a fairly easy tech addition for your Orff lessons that use a rhythm card pack. There are two ways to use them – either projected on a large screen for the entire class to use or on an iPad app for use by a small group. Either way the trick lies in being able to manipulate the images just like you would with the paper version.
The first thing you need is the images. I’ve done that work for you! I have a folder here with 11 rhythm images that you can download.
Full Class view using Google Slides
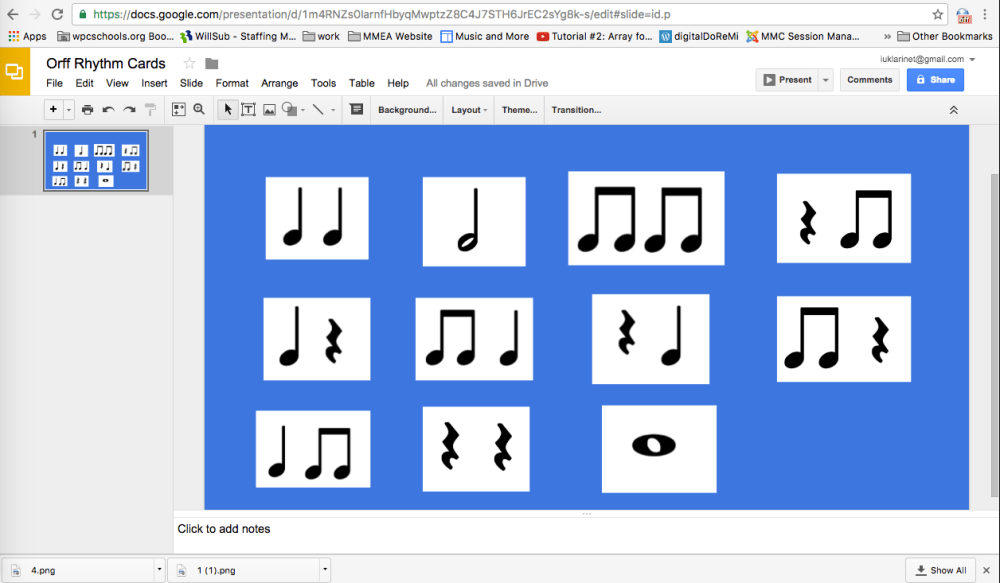
First, download the images in the linked folder to your desktop. You will be able to drag and drop them from there onto the slide. Think of this as your master that you would photocopy before getting out the scissors! From here you open the presentation software of your choice (PowerPoint, Keynote, Google Slides, Prezi, etc) and choose a blank slide with a colored background. This is important since the image background behind the notes is white. Drag each image onto the slide and resize. Now you have that photocopy master:
To make your rhythm pack (the ziplock bag), select your master slide by clicking on the smaller version to the left on your screen. Then from your top menu select ‘Edit’ and ‘Duplicate’. You will see a second identical slide on that left side list. Make sure the second slide is selected then you can go to work! Duplicate cards by selecting the image with a right click that will pull up a menu. Select ‘copy’ then right click anywhere and select ‘paste’. Delete cards on the second slide that you don’t want and insert a text box at the top to label that pack. To make the viewing a bit more clean, you can select ‘View’ then ‘Full Screen’ from the top menu. That will take the top menu out when you use it in class.

Now for the important part. Do not use this file in presentation, or “play” mode. Remember, you want to be able to manipulate the cards.
If you would like a copy of this file, follow this link. Once the file is open go to the top menu and select ‘File’ > ‘Download as’ > ‘Microsoft PowerPoint’. You will be able to open your download in either PowerPoint or Keynote.
iPad using Sticky
Sticky is a basic iPad app that is nothing more than a digital board for post-it type notes. But like any board, you can also put pictures there as well. As you’ve probably guessed, we’re going to be putting the images you downloaded from here into that app. The trick is to get them there.
First, download the free Sticky app onto your iPad. Now you want to get the images into the app. This is the tricky part! Sticky is a basic app that will import images three ways – directly by taking a picture with the iPad camera, through your Photos or from a web url. Google Drive is persnickety about giving you a link on a shared image to go the direct route and to make things worse, Sticky also seems to have a bit of an issue with the url thing too. So the quickest way is through the road less traveled: email.
- Download the images and get them to your desktop where they will be easy to find.
- Make sure you have the email address that is linked to your iPad of choice. If you’re not sure, open Mail on the pad and find out.
- Back to your computer. Attach the image files to an email and send it to the iPad email address.
- Now, open the email on the pad and open each image. Tap each to open, then double tap again and you will have an option to “Save Image”. Tap that and it sends the image to your camera roll.
- Open Photos on your pad and check the Camera Roll. You should see all your images there. You’re halfway home!
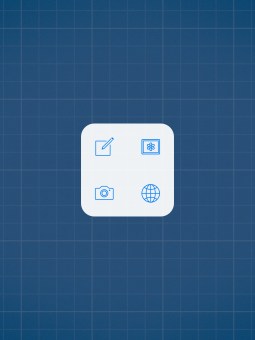
In Sticky, select New Notebook in the upper left corner to begin a new board. Select your background (again, I prefer something darker to better see the images). Double tap on the blank board to bring up your import options and choose the Photo image in the upper right:
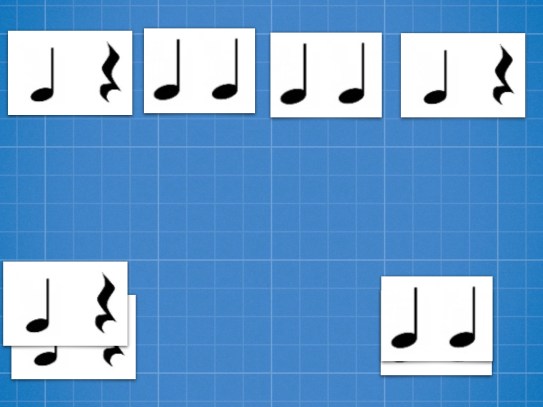
You should see album options from Photos in the next box. Your images should be in Camera Roll. Select your image and it will appear on the board. It will appear larger than you want but don’t worry – grab opposite corners (bottom left and upper right) and pinch to resize. Tap once on the image to give you options that include copy and delete. Sticky has recently gone through some changes that limits your number of Notebooks to two but you shouldn’t need more than one. Copy all images to the first page as I described above for Google Slides, then add new pages in your notebook by swiping the screen right to left and copy/paste images on the new page. Simple!
Now for the catch. Sticky is a stand alone app which means you won’t have sharing options to additional iPads. What does this mean? If you want to use a total of 4 iPads for groups, you will need to download the Sticky app and go through this creation process on each pad. It is a bit time consuming, but when you consider the time you put in keeping all those little pieces of paper in the ziplock bags it really comes out the same in the end. It seems like someone should be working on an app for this which is why I am starting this year. When I get it finished you’ll be the first to know!
