If your classes are anything like mine, they LOVE to sing with MP3 accompaniment. I subscribe to “Music K-8” and use many of their selections, which are perfect for content and range. Every once in a while though, I run into a situation where the tempo and pitch are not quite right for a group. If one or the other is just too far off for us to achieve I have to make a choice – change material or change the accompaniment. A little quick research led me to the solution, and it is free!
Audacity is a free download that allows you to manipulate sound files in many ways. You can also record and edit your own original files. The software is available for both Windows and Mac and can be downloaded here. You will also need to install the LAME MP3 encoder and follow instructions for installing the LAME files.
When you open Audacity your window will look like this:
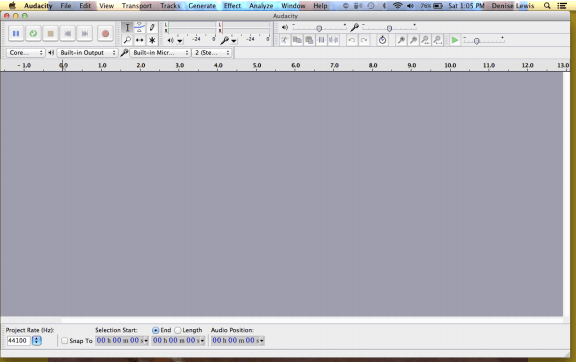
Figure 1
The first step is to import the MP3 file you want to alter. For this demonstration, I’m using Dream Catcher by Teresa Jennings from “Music K-8”, Vol. 6, No. 1.
Open your “File” menu and select “Import”, then “Audio” (figure 2). This will take you to your files, where you select “Music” then navigate to your music files. For me that is iTunes. I used the search box to make things quicker (figure 3).
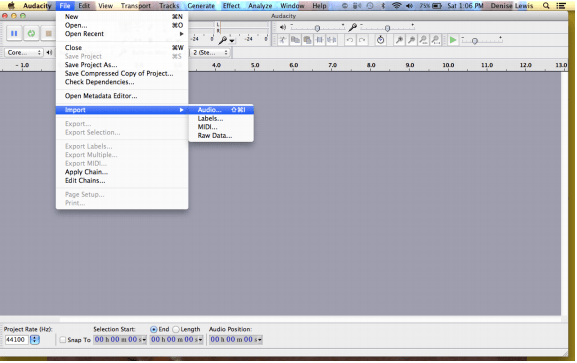
Figure 2
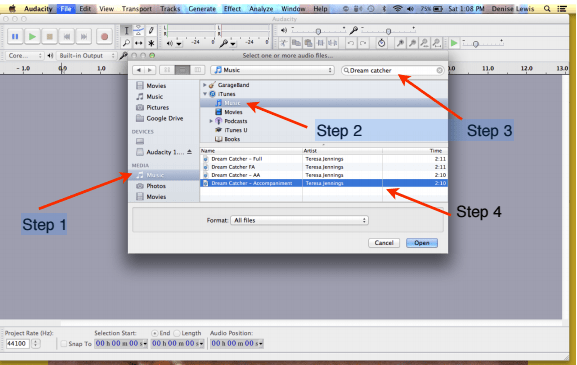
Figure 3
Next, select “Open” to open the MP3 file in Audacity (figure 4).

Figure 4
Click on each track to highlight both. Now go to the “Effects” menu (figure 5). The two effects we need are “Change Pitch” and “Change Tempo”. Choosing “Change Speed” will alter both pitch and tempo, but not in a controlled fashion. I selected “Change Pitch” first.
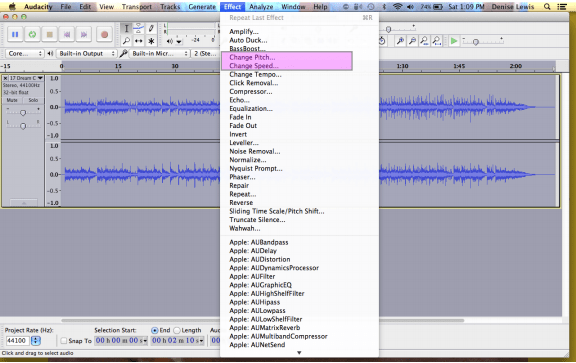
Figure 5
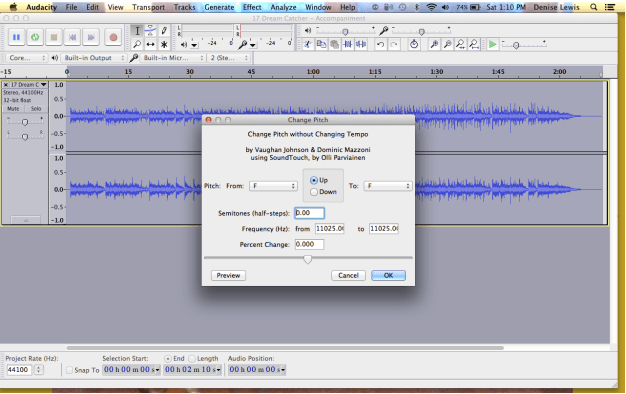
Figure 6
Figure 6 shows the box that will appear. The pitch that appears as current key is NOT always correct! However, pretend it is and chose your transposition. If you want to take the original down a minor third, click “Down” and scroll “To” down to D (figure 7). Click “OK” when finished.
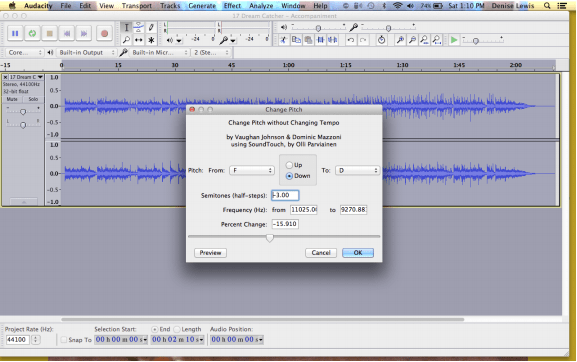
Figure 7
Return to the “Effects” menu and choose “Change Tempo”. This isn’t an exact operation – you will need to estimate the percentage of change you would like to make. Use the sliding bar or enter a percentage. I chose a 20% reduction for this example (figure 8). Since you’re guessing, you might want to use the “Preview” button (marked) to listen first before finalizing. If you do, make sure to save your file first to keep your pitch alteration (next step below). Click “OK” when everything is to your liking.
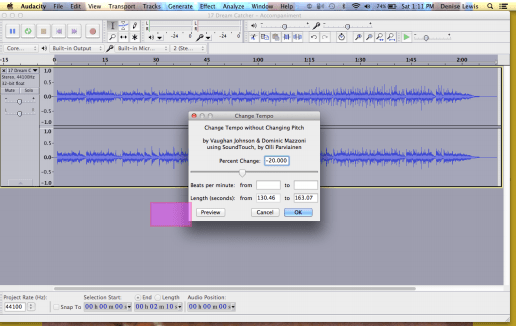
Figure 8
Your last step is to save your new file. When the dialog box appears, change the track title to indicate your changes. I have the original saved as “Dream Catcher – Accompaniment”. I named the new file “Dream Catcher – Altered Accompaniment”. This prevents your new file from overwriting your old and makes it easier to find. Click “OK” when you have renamed your file (figure 9).
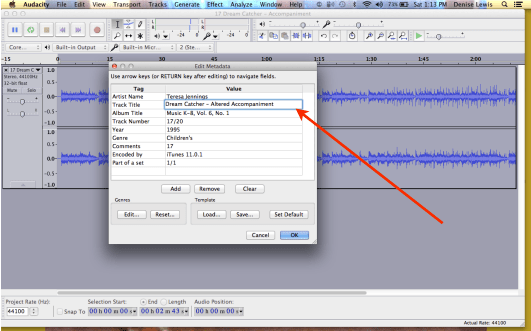
Figure 9
In the next screen you’ll find the actual “save” dialog box. Change the “Save As” to match your new file name. Make sure you select MP3 format as shown, choose a destination, then click “Save” (figure 10).
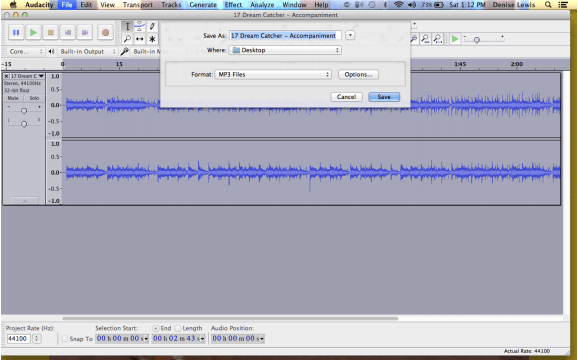
Figure 10
The new file then exports to the destination you chose. Import it to your iTunes or other media library and you’re ready to go!
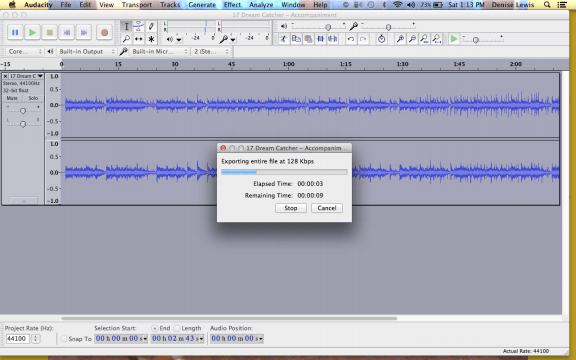
Figure 11
Audacity is a very powerful tool and relatively easy to use. Best of all, as I mentioned at the beginning, it is free! You can also cut tracks, fade them and do many other things. The best way to get to know any software is to import a track and experiment away. Audacity is widely used so if you get stuck Google is very helpful. When I altered my first MP3 I was very short on time so I downloaded the software, Googled the task for some basic directions then did the alteration. The entire process was finished in under 15 minutes.
I hope this is enough to get you started. Happy editing!
